


How to create a Football Lampshade...
 I had to steal this idea from my AWESOME friend over at Lolly Jane Boutique. It is completley adorable for those of you with boys or a hubs that wants a sports themed office. So here is how to Create a Football Lampshade... or should I say how to make your lampshade look like a football?! Either way, it's a great way to tie in the theme of your little guy's room!
(Seriously though all credit goes to Lolly Jane Boutique!!)
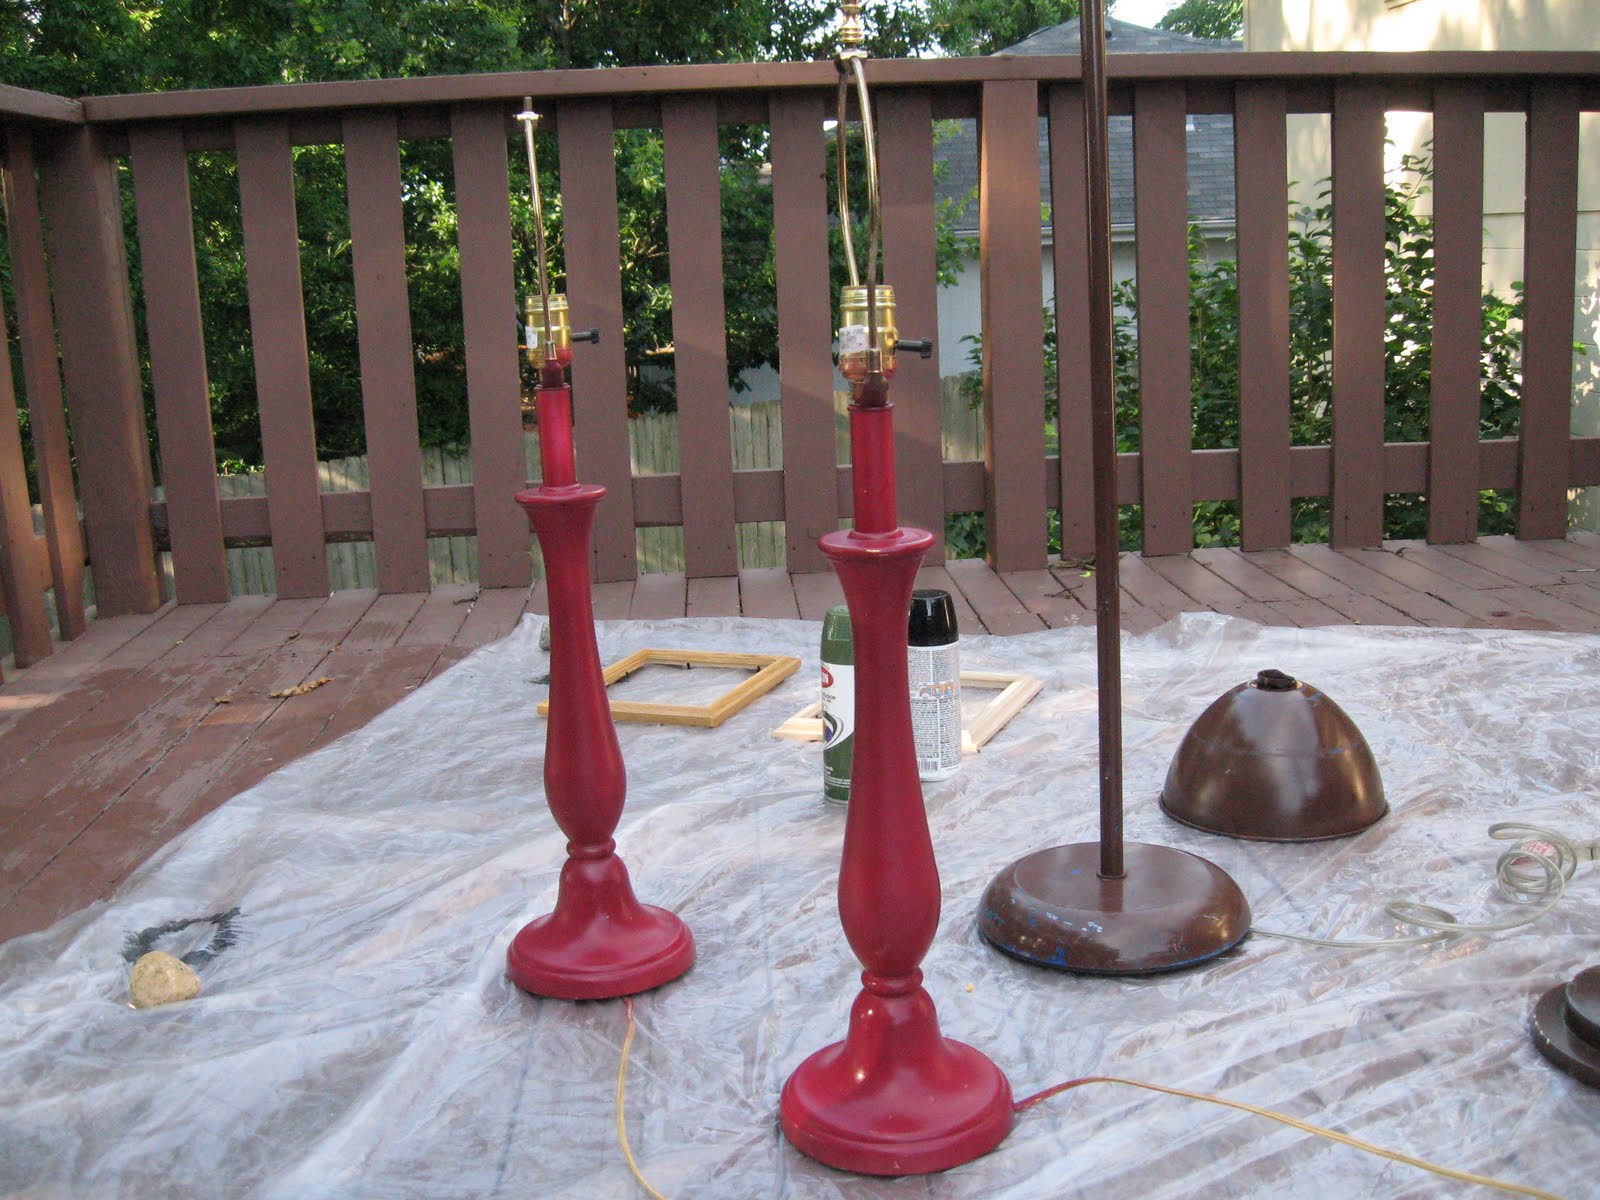
Supplies. What you will need:
Supplies. What you will need:

Step 1: Measure the lampshade:

Measure the lamp's length and make marks lightly (in pencil) of how tall you want your "football stitching" laces to be. You will make 2 vertical laces. You will also make 6 rows of horizontal laces that will cross the vertical laces, (with 1/2" length remaining on each side after crossing the vertical laces.)
Step 2: Cut holes for the laces:

Using a sharp razor tip, slit a small hole vertically (approx 1/4 inch.) at your markings. Note: it should be conspicuous but large enough the shoelaces can easily slip through.
Step 3: Thread the laces:
Step 3: Thread the laces:

Starting at the top, simply poke the shoelace through the top and bottom holes, creating a straight vertical line, leaving a 1/2 inch "tail" hanging from each side. Repeat so you have 2 shoelaces side by side with a 1/4" gap.
Step 4: Stitch the lace:
 Stitch the 1/2" tail through the front of the shoelace, creating sturdy "football stitching." This will hold the vertical laces permanently in place. Repeat until both sets of laces are tight. Tip: Hot glue will work for this as an alternative for those who simply dislike sewing ;)
Step 5: Cross the laces:

Cross the horizontal laces over the vertical laces, leaving approx. 1/2" on each side, creating the look of football stitching.
Step 6: Make your whistle pull.
Note: I left my whistle hanging the same length as the original pull.

Step 7: Attach to the lampshade.
Instead of switching the original pull to the whistle pull, I clipped the original shorter (it should not be visible when looking at the shade) and simply tied the whistle to the lampshade.... yes it is strictly "for looks." Easy peasy, right? ;) Read more...


